
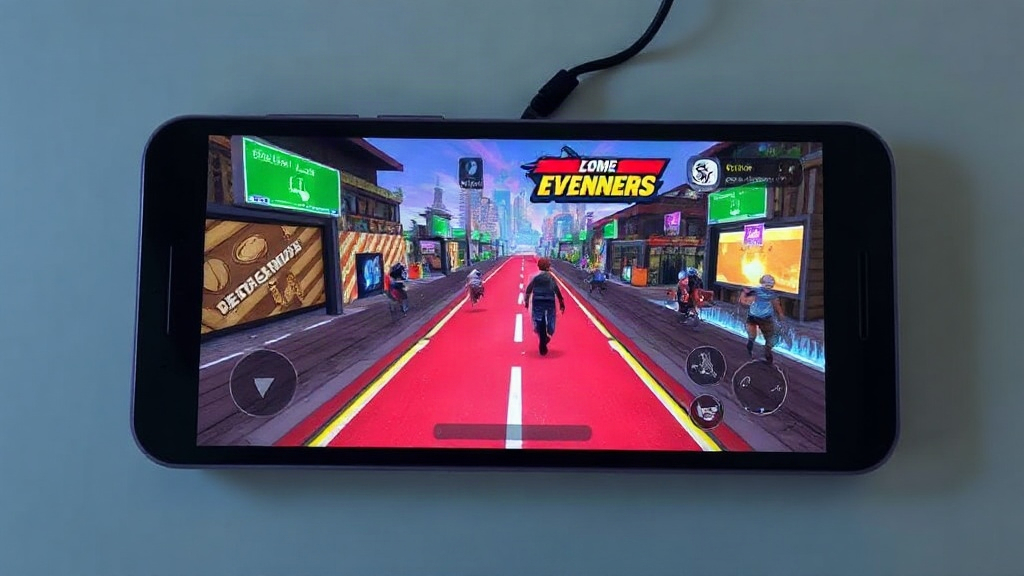
A low-end PC can still run Android games smoothly if you know which few settings actually matter. If you want to speed up android games without buying new hardware, the biggest wins usually come from the emulator’s graphics settings, not from the game itself. You may have already read advice online and thought, “check this out” — but the useful fixes are usually quite simple. This guide explains what slows emulated games down and which changes deliver the most frames per second.
Quick answer: Run Android games in a lightweight emulator, switch graphics rendering to the mode your PC handles best, lower the resolution and frame rate inside the emulator, and close background apps. Most low-end PCs gain the most from reducing render resolution and assigning more CPU cores to the emulator. Expect smoother frame pacing rather than dramatic speed, because weak hardware has a ceiling.
What is speed up android games?
Speeding up Android games means making them run more smoothly on an Android emulator installed on a Windows PC. An emulator such as BlueStacks, LDPlayer, or MEmu creates a virtual Android device on your computer. The game runs inside that virtual device, using your PC’s processor, memory, and graphics chip. Two layers of software now share one machine, so performance depends on how well both layers cooperate.
That double layer explains most slowdown. A low-end PC already has limited headroom. The emulator consumes some of it, and the game consumes the rest. When either layer asks for more than the hardware can give, you see stutter, input lag, or sudden frame drops.
Several hardware parts shape the result:
- CPU: Runs the Android system and the game logic. More cores help, but single-core speed often matters more.
- GPU: Draws every frame. Integrated graphics in budget laptops are the usual bottleneck.
- RAM: Holds Android, the emulator, and the game. 8 GB is a practical minimum for comfortable gaming.
- Storage: A solid-state drive loads games faster than a mechanical hard drive.
Virtualization support is just as important. Emulators run best when hardware virtualization is enabled in the BIOS or UEFI. Without it, some emulators refuse to start or fall back to slow software emulation.
The difference between game settings and emulator settings
Game settings control resolution, shadows, and particle effects inside the game. Emulator settings control how the virtual device allocates CPU cores, memory, and graphics rendering. A low-end PC usually responds better to emulator-level changes. Dropping the emulator’s render resolution from 1080p to 720p, for example, often helps more than turning off one shadow option.
On budget laptops with integrated graphics, the GPU limits frame rate more often than the CPU. Watch GPU usage in Task Manager while a game runs. If it sits near 100 percent, lower the resolution before changing anything else.
The short takeaway: understand that you are tuning two systems at once, then focus your effort on the emulator layer first.
Why speed up android games matters

Performance affects more than visual polish. In many Android games, frame rate changes the outcome. A racing game with uneven frames makes steering feel unpredictable. A shooter with input lag punishes quick reactions. A strategy game with slow touch response turns simple commands into repeated taps.
Smooth frame pacing also reduces frustration in daily play. Daily quests, login bonuses, and timed events become chores when every menu takes seconds to respond. Faster performance shortens those routines, which keeps the hobby enjoyable instead of tiring.
There is a practical hardware argument too. A low-end PC costs far less than a gaming rig, and many people already own one for work or study. Tuning settings is free, while upgrading means spending money. Getting a playable experience from existing hardware is the sensible first step.
The limits of tuning
Honest expectations matter here. Settings can recover wasted performance, but they cannot create hardware that does not exist. A laptop with 4 GB of RAM and an old dual-core processor will struggle with demanding 3D titles no matter what you change. Older or lighter games, such as puzzle titles or 2D platformers, usually run well on modest machines.
Before spending an evening on settings, compare the emulator’s minimum requirements with your PC’s specs. If your machine falls below the minimum, no configuration will fix it.
The takeaway: smoother emulated games improve both enjoyment and fairness, and free tuning deserves a try before any purchase.
Best practices
Start with the emulator’s graphics engine. Most emulators offer two rendering modes: one using DirectX and one using OpenGL. On some low-end PCs, OpenGL runs better with integrated Intel graphics, while DirectX suits certain AMD and NVIDIA setups. Test both with the same game for a few minutes each and keep whichever feels smoother.
Next, lower the in-emulator resolution. Running a game at 1280×720 instead of 1920×1080 cuts the number of pixels the GPU must draw by more than half. Many emulators also offer a separate display resolution and a device profile; pick a mid-range phone profile instead of a flagship one. Games rarely look meaningfully worse on a small window.
Assign resources deliberately. Give the emulator enough CPU cores to run Android smoothly, but leave at least one core for Windows itself. A common starting point on a four-core machine is two cores for the emulator. Set memory allocation to a sensible figure, such as 2 GB to 4 GB, rather than pushing the slider to maximum.
Practical steps to apply
- Enable virtualization in your BIOS or UEFI if it is off.
- Install the emulator on your solid-state drive, not a mechanical drive.
- Open the emulator settings and set the graphics renderer after testing both modes.
- Lower the resolution to 720p or a phone profile with modest specs.
- Set the frame rate cap to 30 or 60 FPS; a stable 30 beats an unstable 60.
- Close browsers, video players, and chat apps before launching a game.
- Restart the emulator after major setting changes so they take effect.
Inside the game, reduce shadow quality, texture detail, and effects before touching anything else. These options cost GPU time, and their visual impact is often small on a laptop screen.
Maintenance habits that keep performance steady
Cached data and leftover files accumulate over weeks of play. When an emulator starts feeling sluggish even though nothing changed, a cache cleanup is a sensible troubleshooting step. If you use BlueStacks, you can clear BlueStacks cache as part of that routine. Update graphics drivers occasionally, since driver updates sometimes fix rendering problems in emulators.
Change a single setting, play for five minutes, and note the result. Changing five things at once makes it impossible to know which fix worked.
The takeaway: tune the emulator layer systematically, then keep it lean with regular maintenance.
Common mistakes to avoid
The most frequent mistake is maxing out every slider. People assign all CPU cores and all available RAM to the emulator, expecting better performance. In practice, Windows needs resources to manage the emulator itself. Starving the host system causes stutter, freezes, and sometimes crashes.
Another common error is ignoring the real bottleneck. Someone lowers in-game graphics settings while the emulator is still rendering at full resolution, then concludes that nothing helps. Check Task Manager first to see whether the CPU, GPU, or memory is maxed out. Tune that component’s settings and leave the rest alone.
Pitfalls that quietly hurt performance
- Running on battery power: Laptops throttle the processor to save energy. Plug in the charger for gaming sessions.
- Ignoring heat: A hot laptop slows itself down. Keep vents clear and use a hard, flat surface.
- Overloaded storage: A nearly full drive slows file access. Keep some free space.
- Outdated emulator versions: Newer builds often include performance improvements and bug fixes.
- Too many background startup apps: These consume memory before you even launch a game.
People also expect miracles from a single change. Real gains on low-end hardware come from several small improvements that add up: a lower resolution, a stable frame cap, fewer background apps, and proper cooling. None of these is dramatic alone; together they can turn an unplayable game into a steady one.
“Booster” utilities that claim to free memory often create instability. Stick to your operating system’s own tools and the emulator’s built-in settings.
The takeaway: restraint beats enthusiasm. Give the emulator reasonable resources, find the true bottleneck, and fix that first.
FAQ
Can a low-end PC really run Android games well?
Yes, for many titles. Lighter games and older 3D games generally run acceptably after tuning. Demanding recent games may stay choppy because the hardware limits them. Tempered expectations help: aim for smooth and playable, not perfect.
Is a heavier emulator always worse on weak hardware?
Not automatically, but lighter emulators usually start faster and use less memory. Try one or two builds and compare them with the same game. Pick the one that feels steadiest on your machine.
Does lowering the frame rate cap make games feel worse?
A stable 30 FPS often feels better than an unstable 60 FPS. Frame consistency matters more than the raw number. If your PC cannot hold a steady 60, capping at 30 usually produces smoother motion.
How much RAM do I need for emulated Android games?
8 GB of system RAM is a practical minimum for comfortable play. With 4 GB, you can run light games if you close everything else. More memory helps the emulator and the game coexist without swapping.
Will these settings affect game accounts or saves?
Settings changes do not touch your accounts, though reinstalling an emulator can remove local data. Link your game to a social or email account first. That way, progress stays recoverable if anything goes wrong.
Conclusion
Speeding up android games on a low-end PC comes down to a few reliable moves. Tune the emulator’s graphics engine, drop the resolution, cap the frame rate at a level your hardware can hold, and keep background load low. Maintenance matters too: clear caches, update drivers, and keep the machine cool and plugged in. Most gains are modest but real, and they cost nothing.
Your next step is simple. Open your emulator’s settings, change one option, and play for five minutes to judge the result. Repeat until the game feels steady, then save those settings as your default profile. For most people, that short experiment delivers the smoothest experience their hardware can offer, and it turns a frustrating game into an enjoyable one.


